CLICK HERE FOR FREE BLOGGER TEMPLATES, LINK BUTTONS AND MORE! »
Showing posts with label ribbon. Show all posts

Thursday, April 12, 2012

Baby Bee Baby Shower

I'm telling you, my favorite part of being creative and making things is getting crafty for special ocassions like birthday parties and baby showers.

My baby girl (who is now almost 2) never really gave me that "OMG I'm having a girl so everything must be pink" feeling.  Instead, everytime I was told something by a family member or friend about my color choices for her nursery and baby shower, I went deeper into the non-girly color schemes :).

I fell in love with bees and fairys the entire time I had her in my belly.  Everything had something to do with bees or fairys, I mean everything! Such huge gravitational pull toward stuff that never before caught my eye.  Fairys?! Are you kidding me?! I am by far the most tom boyish girl I know.  Out of my group of girls that is.

Take a look at what I did for her baby shower invites:
I used Papertrey Ink's fabulous stamp set Baby Button Bits as well as their awesome Golden Harvest Buttons.  The ribbons are all random choices of mine that I picked up at my local crafty store.


 I cut all my cardstock down to size and printed them with the information and I included an insert which asked all my guest to help build a library for Jaylyn.  I love that idea (which I picked up from web browsing) because it really does help and it adds a little something extra and unique to the invite.  I love it!

Monday, June 27, 2011

Jaylyn's Turning One

I had to share...

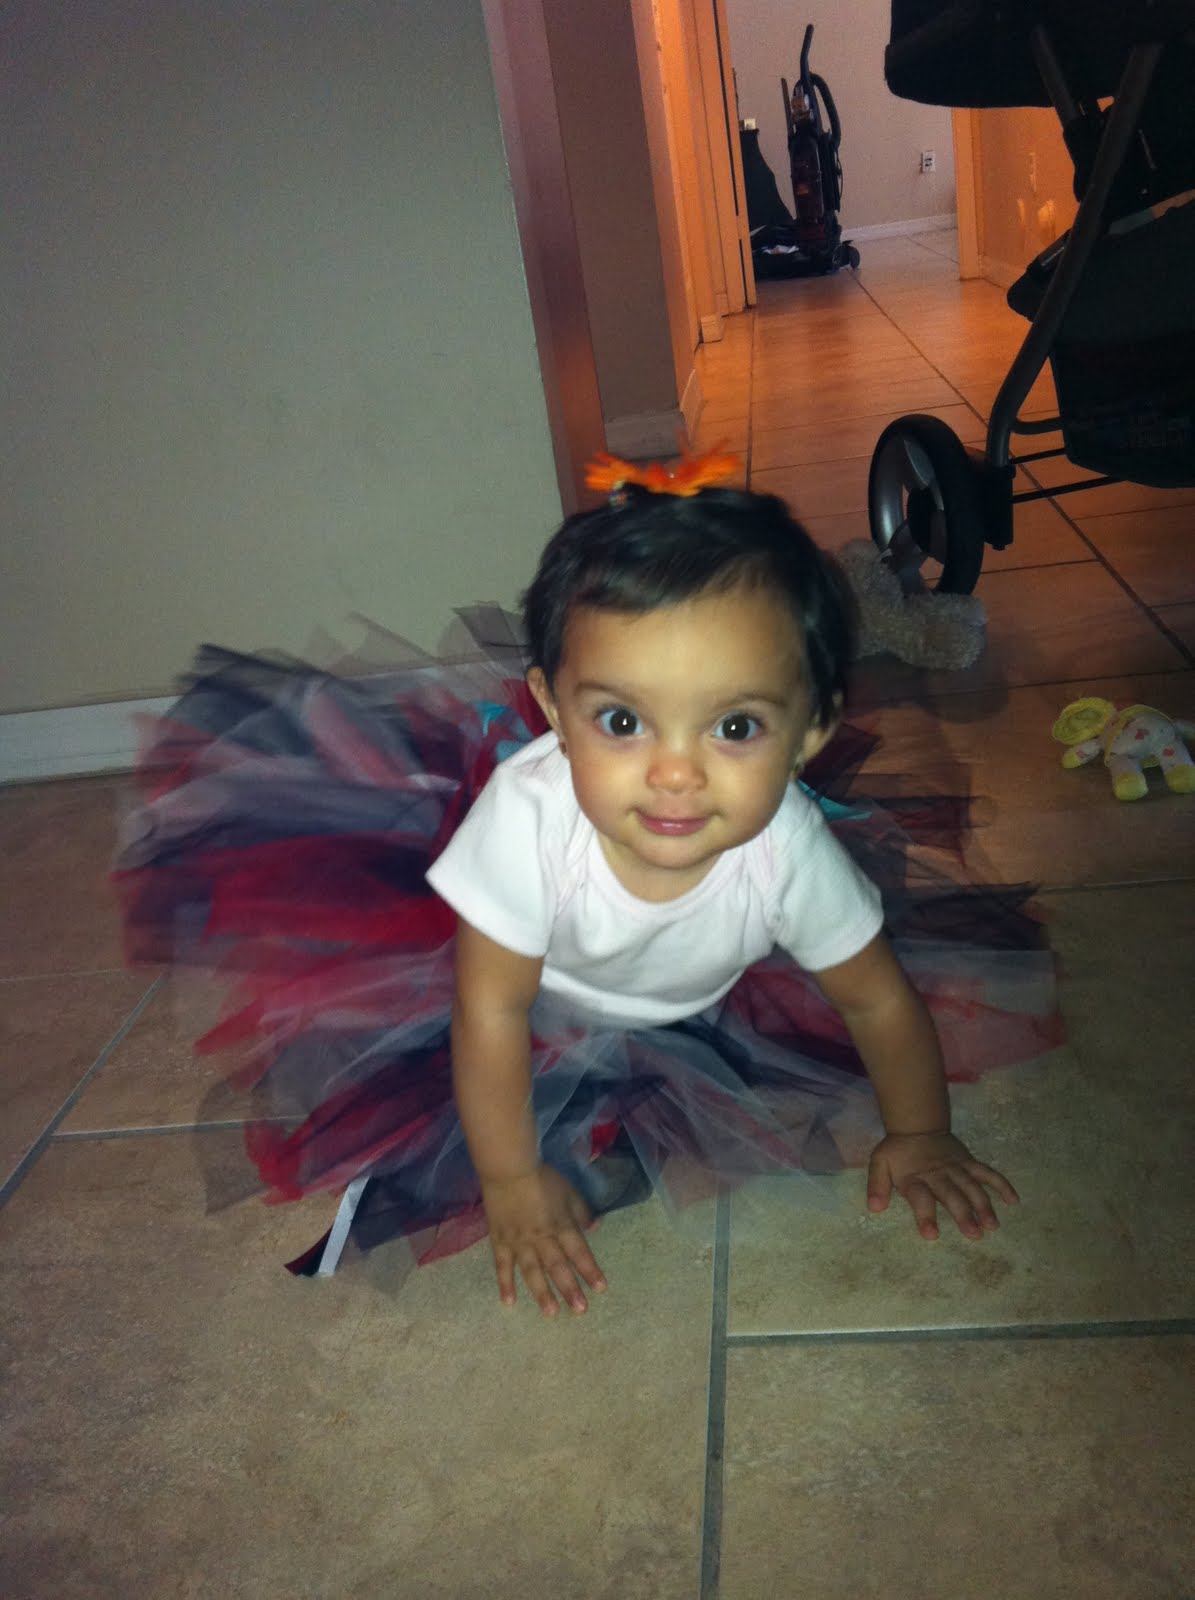
I made little Miss Jaylyn another tutu this weekend. And, of course, its perfect! I’m seriously going on a tutu making rampage...lol. This one is for her first birthday. It has the same colors as her bathing suit (courtesy of Nanny) and all her birthday decorations (courtesy of mom - ME!). I can’t wait...

>


Look at her bathing suit!! It's just adorable. My mom crocheted it for her.


...and her party hats. It's a simple template I found on-line (google - party hat template) with a touch of me and alot of help from my Cricut and the Create a Critter Cartridge. So much cuter than any party hat at the party store!


here is her birthday banner


and her invites...

Monday, June 20, 2011

No Sew Tutu's

Why didn’t I think of this before?! This weekend my girlfriend, Sharon, came over with her little one, like she does most weekends, and all she kept talking about was these tutu’s. I have to admit I didn’t really care to much at first (bad friend, me) until she showed me them on-line. OH MY GOODNESS, they are soooo incredibly easy to make!! AND so darn cute! I've never purchased a tutu and I never will! :)

Just google “no sew tutu tutorial” and a zillion will pop up. It’s that easy to find instructions.

My favorite part of the whole thing is how cheap we were able to find tulle. Seventy-five cents a yard, WHAT!! Can’t beat that.

Here’s the best I can do at giving you some sort of a quick place to start.

Supply:
1. Thick ribbon (your choice in color)
2. Tulle (about 2 yards per tutu and color) **when you buy the tulle have the lady cut it in ONE yard lengths, it’ll make it easier when you cut the strips**
3. Scissors

Instructions:
- Measure your little one’s waist with the ribbon your using and times that by 3. If the little miss measures 20 inches around then you’ll need 60 inches of ribbon.
- Then, tie knots 1/3 of the way in on your ribbon from both ends. The space in-between both knots is where you’ll tie all the tulle.
- The “left over ribbon” on the ends is what you’ll use to tie the tutu around the little miss’ waist.
- Fold each yard of tulle in half and roll it up like you would a piece of paper. This is the easiest way to cut your strips.
- Cut the ends off the roll, about a ½ inch or so, to get the ends as even as possible.
- Cut the rest of the roll into smaller rolls of about 3 inches a piece.
- Once your done cutting, unroll each of them, fold and cut each strip in half (long ways) and your ready to start tying.
- Fold your strips in half again making an arch, or loop. Hold that loop to your ribbon and slip the ends through the loop and pull. Now you have a knot. Continue like this until you fill the ribbon from knot to knot with tulle.

The more tulle you tie, the fluffier your tutu!! You can add as many colors as you want. You can also tie fun ribbon to it. The possibilities are endless. Enjoy!

The tutu I made for my wittle girl is red, white, and blue. She’s going to look sooo cute when she sports it this 4th of July.

I also made her a matching stretchy headband. Same concept, just shorter strips of tulle. Use your scrap pieces. I’m in love!


Thursday, May 26, 2011

Whoo Loves You?

My Mind's Eye paper is amazing. I don't think I've come accross a line by them that I don't like.

You know, the other day, as I was organizing my stash of paper I realized something that made me smile. Most of the paper I was looking through has been sitting for quite some time; my scrap booking took a vacation for a minute. Anyway, what I was looking through dates back as far as when I first started scrap booking, like 5 years back, and back then I had no idea how many different companies are out there, I simply picked out papers I liked. Little did I know, I was picking out mostly the same few companies, My Mind's Eye being one of them. Now I know better; now I know to look for you! :)

This mini is for my mom. It spells out "Nanny" which is what my kids and niece call her; she refuses to be called grandma or abuela! It holds pictures of her grand babies. Of course, I wanted to keep it once I had the finished product in my hand :).

handmade flower

journaling tag


I made this little girl's skirt with a piece of pretty ribbon I had, kind of scrunched it up, sewed the top together so it looks like a skirt, glued it to the girl with fabri tac, and attached a little piece of twine from Papertrey Ink tied into a bow to the corner making it look like its part of the skirt! Super cute!


my favorite pages in the whole book! "Who Loves You?" The little owl was pretty simple to make. I got this idea from Elizabeth Kartchner's blog. Check them out! She made little stuffed owls with some real cute fabric, well, I thought they'd make great embelishments, AND I was right :). They are about 2.5x3 inches and really super fun to make.


just a few pictures of the kids.


The end. Enjoy!